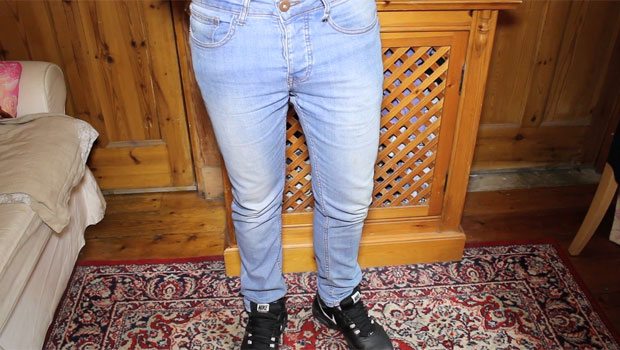
Seven simple steps to creating your very own ripped jeans.
It’s really quick and easy and will add new life to any old pair of denims.
This style works best with light or acid wash denim.
I’m using an old pair of Primark jeans.
Step 2 – Gather your supplies
You will need:
- Jeans
- Sandpaper
- Utility knife
- Scissors
- Cardboard
- Chalk
Step 3 – Choose your style
Decide where you want your rips and how many rips you want. I’m going for a rip on each knee and a rip on the upper left thigh area.
Step 4 – Mark your jeans
Put your jeans on and mark where you want your rips with chalk.
Step 5 – Distress with sandpaper
Place your cardboard between the front and back of your jeans. This will stop you cutting all the way through your jeans.
Use your sandpaper to break the fibres of the jeans. Do this both vertically and horizontally. You’ll start to see that bits will fray away and you can pull these out.
Use your chalk to put the marks back on.
Repeat this step everywhere that you want rips.
Step 6 – Cut your jeans
With your utility knife, cut using short and quick movements on the jeans. Vary the pressure on the jeans. Pick out any loose bits of fabric to expose the threads.
With your scissors, make a horizontal incision and cut the length of your rip.
Step 7 – Fray the edges
Using the inside of the scissors, scrape the edges of the cut. This will loosen the threads and you can begin to pull these out.
Repeat this step on each side, for as long as you like.
You’re done!


