
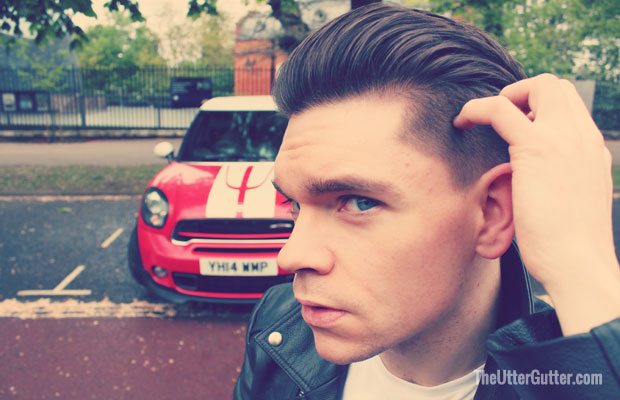
Create this classic men’s hairstyle (with a twist!) in 10 quick and easy steps.
The rockabilly pompadour is one of the most popular men’s hairstyles and one of my personal favourites – it’s totally timeless, sharp and bang on trend.
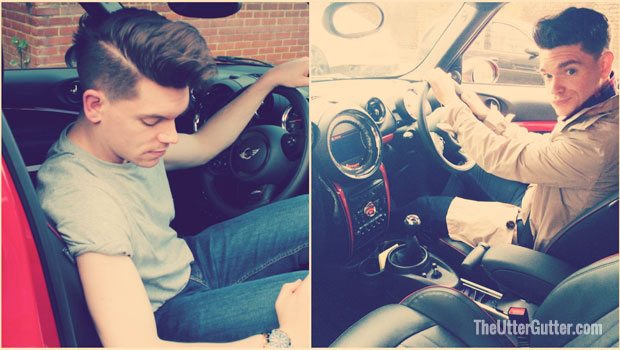
My technique for this style is super-easy and can be done anywhere… even in a car!
Scroll down for my video tutorial
Hair’spiration
With the tagline The New Original, the new release John Cooper Works MINI Paceman injects fresh life and a modern twist into the classic MINI.
Launched in 1959, the MINI has become something of a style icon. It was the evolution of the car that inspired me to take this 1950s hairstyle and give it The New Original treatment.
You can read more about the car here
You will need…
For this style, I would recommend:
- Dry Shampoo – I’m using Batiste Original.
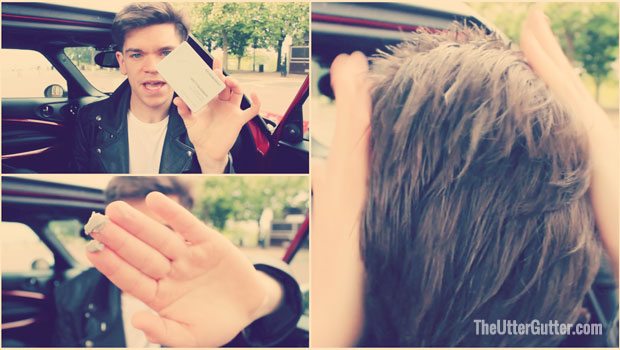
- Wax – Kevin Murphy’s Gritty Business is one of my all-time favourites.
- Hairspray – Wella Silvikrin Classic, Maximum Hold works a treat.
My haircut
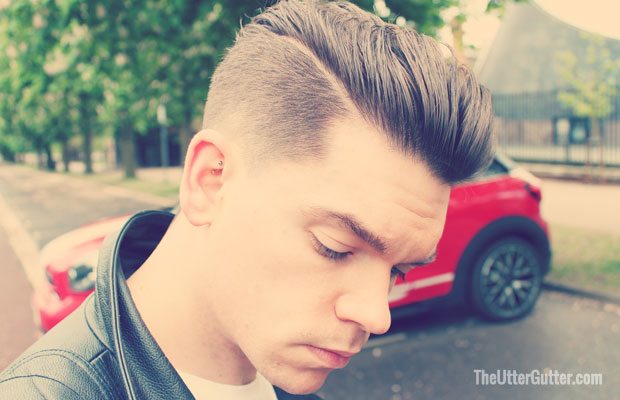
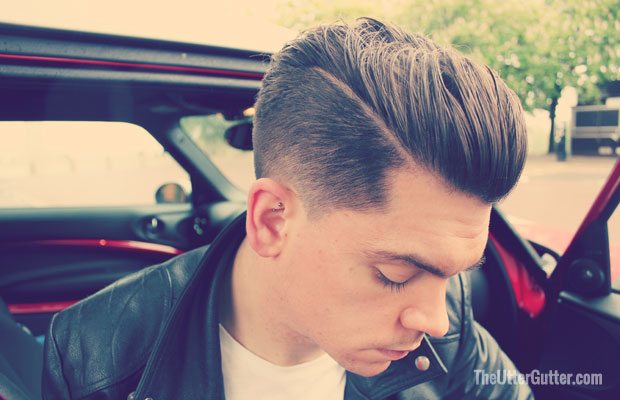
My hair was cut three days before filming this tutorial. It’s a clippered one back and sides with a tapered zero around the ears.
I have kept the top long (down to my nose) and left it disconnected from the sides. The contrast in length really makes the top look longer and fuller.
Finally, I have had a parting shaved into the right side of my hair. This makes it even easier to keep your style looking neat.
How to – in 10 easy steps
- Start with clean and dry hair.
- Spray a good amount of dry shampoo into your hair and make sure that it’s fully coated. Stop before your hair goes white! This helps to add more grip and volume to your hair – especially useful as we’re not using a hairdryer.
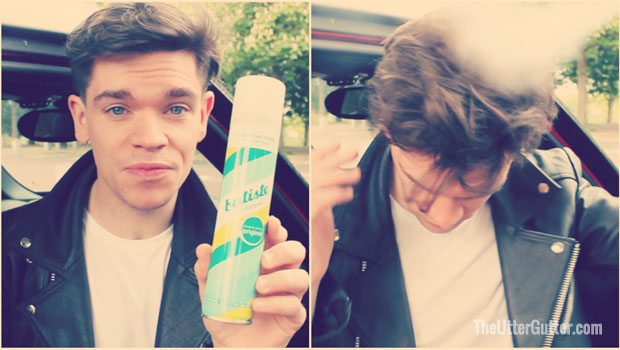
Dry shampoo helps to add grip and volume
- Warm a small amount (10p/Quarter size) of wax/pomade into your hands. Warming the product ensures that it goes straight through your hair and doesn’t leave lumps.
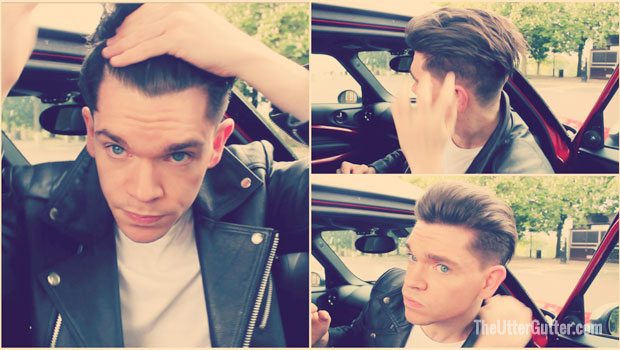
- Start from the back of your head and push all your hair forward. If they’re long, push the sides forward and towards the centre of your forehead. This will form the underside of the pomp, so you want to ensure that you have a strong foundation.
It’s important to build a good foundation for your pomp.
- Now, with your hands under your fringe, push back – up and over – to create the pomp.
- Use quick motions to tease the hair back and encourage more volume in the fringe.
- Add a little more product (a third of the amount from before) and sweep it up and through the hair. Keep your fingers wide and hands moving quickly.
Keep your hands moving quickly
- Keep pushing the hair up and back until you are happy with how your hair looks. Resist adding more product. Keep it light and slick.
- When you’re happy, hairspray a light mist onto your hands and lightly brush the surface of your hair. This will pick up any stray hairs and allow you to place them where you want them.
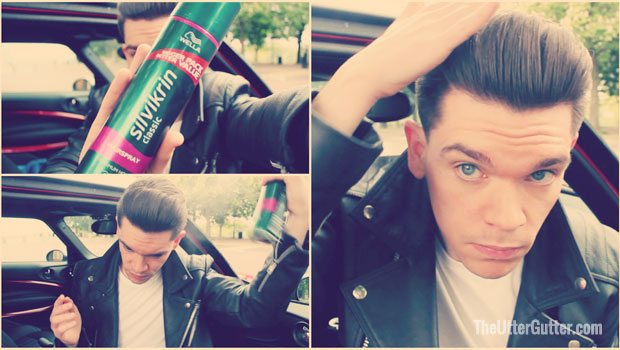
Hairspray is optional but I find that it helps me
- Finally – spray your hair all over. This will secure it all in place. Done.
Give this hairstyle a go and let me know how you got on in the comments box below.

If you liked this, check out my quiff hairstyle tutorial here